Microsoft 365 & SharePoint PnP Weekly – Episode 74

Microsoft 365 & SharePoint PnP Weekly – Episode 74

episode-74-promo.png


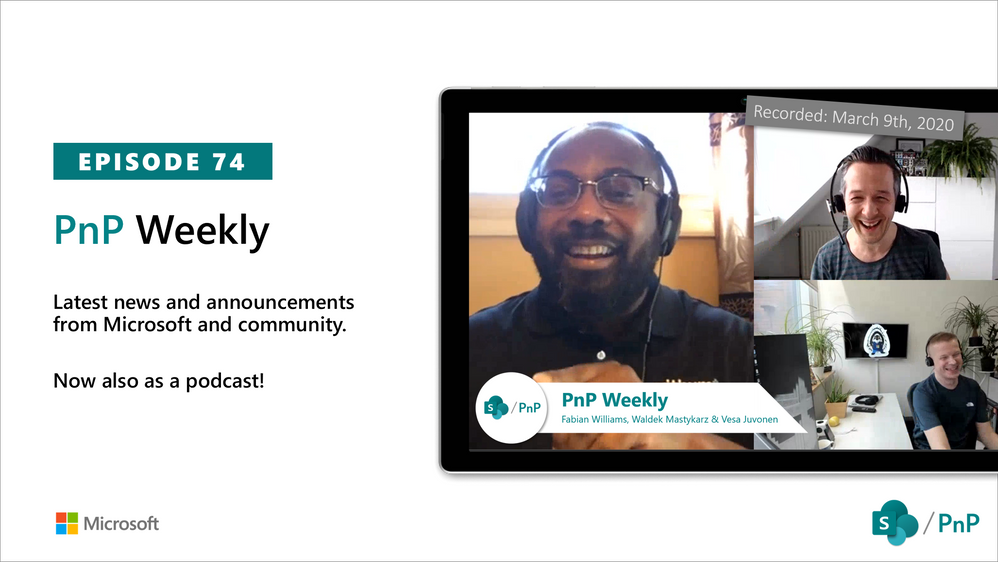
This week, Vesa and Waldek are joined by Fabian Williams  Microsoft MVP – Visual Studios Development Technologies and Director for the Intelligent Process automation (IPA) practice at Withum located in Washington D.C.


In addition to Microsoft and Community activities and articles, the group focused on this question:  Why should a Teams or SharePoint developer care about Azure Functions? 


This episode was recorded on Tuesday, March 9, 2020


Got feedback, ideas, other input – please do let us know!

Set SharePoint CorrelationID programmatically for Troubleshooting

Set SharePoint CorrelationID programmatically for Troubleshooting

This post is a contribution from Jing Wang, an engineer with the SharePoint Developer Support team.


There are multiple ways to access SharePoint data with custom code, for example, CSOM, JSOM, SharePoint Rest API and Sharepoint Web Service call.

Troubleshooting problems with these accesses likely need correlation IDs of the failed requests. With the correlation IDs we can locate relevant errors in SharePoint ULS logs efficiently.

However, not all failed requests expose the correlation ID to UI, code or through network traces. In those scenarios, being able to set distinctive correlation IDs when send the requests to SharePoint become very useful.


  1. For CSOM (client object model code), it is straight forward to set it:

ClientContext context = new ClientContext(“https://{site_url}”);
Web web = context.Web;

context.TraceCorrelationId = “88888888111111112222222233333333”;

context.Load(web);

context.ExecuteQuery();

  1. For JSOM (JavaScript library code):

<script type=”text/javascript”>

var clientContext;

var website;

SP.SOD.registerSod(‘sp.js’, ‘/_layouts/16/sp.js’);

SP.SOD.executeFunc(‘sp.js’, ‘SP.ClientContext’, sharePointReady);

function sharePointReady() {

    clientContext = SP.ClientContext.get_current();

    website = clientContext.get_web();   

    clientContext.set_traceCorrelationId(88888888111111112222222233333333′);

    clientContext.load(website);

    clientContext.executeQueryAsync(onRequestSucceeded, onRequestFailed);

}

function onRequestSucceeded() {alert(website.get_url());  }

function onRequestFailed(sender, args){alert(‘Error: ‘ + args.get_message());}     

</script>


  1. For SharePoint Rest API call


<input id=”Button” type=”button” value=”Empty Site Recycle Bin” onclick=”runCode()” />

<script type=”text/javascript”>   

function runCode(){

    SP.SOD.registerSod(‘sp.js’, ‘/_layouts/16/sp.js’);

    SP.SOD.executeFunc(‘sp.js’, ‘SP.ClientContext’, emptySiteRecycleBin);

    function emptySiteRecycleBin(){

        var restUrl = _spPageContextInfo.webAbsoluteUrl+”/_api/site/RecycleBin/deleteAll()”;             

        $.ajax({

            url: restUrl,

            type: “POST”,                                                        

            //withCredentials: true,

            headers: {    

               “X-RequestDigest”: $(“#__REQUESTDIGEST”).val(),

               ‘SPResponseGuid’: ‘88888888111111112222222233333333‘               

                                },                                                       

              success: function(response) {alert(“Emptied Site RecycleBin!”);},

              error: function(response){ alert(“Error empting RecycleBin…” );}                 

            });
      } 
}
</script>

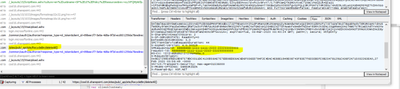
Fiddler Trace shows the correlation ID was set successfully:

SPDev_Support_0-1583533551789.png


  1. For the calls to SharePoint Web Services, for example, listdata.svc or lists.asmx, we can hardcode the correlation IDs as well.


To make a web service call from C# code, you need to create web service reference to the service .svc file first, Visual Studio will generate the reference class for the web service automatically, for example, reference.cs:

The below is the code change needed to add into that class file:

namespace callwebservice.sp2016ws {

    using System;​

    using System.Web.Services;​

    using System.Diagnostics;​

    using System.Web.Services.Protocols;​

    using System.Xml.Serialization;​

    using System.ComponentModel;​

    [System.CodeDom.Compiler.GeneratedCodeAttribute(“System.Web.Services”, “4.7.2053.0”)]​

    [System.Diagnostics.DebuggerStepThroughAttribute()]​

    [System.ComponentModel.DesignerCategoryAttribute(“code”)]​

    [System.Web.Services.WebServiceBindingAttribute(Name=”ListsSoap”, Namespace=”http://schemas.microsoft.com/sharepoint/soap/“)]​

    public partial class Lists : System.Web.Services.Protocols.SoapHttpClientProtocol {​

        ​

        private System.Threading.SendOrPostCallback GetListOperationCompleted;​

        protected override System.Net.WebRequest GetWebRequest(Uri uri)​

           {​
       var request = base.GetWebRequest(uri);​
       request.Headers.Add(“SPResponseGuid”,”88888888111111112222222233333333“); ​

       return request;​

        }​

Microsoft 365 & SharePoint PnP Weekly – Episode 73

Microsoft 365 & SharePoint PnP Weekly – Episode 73

episode-73.png


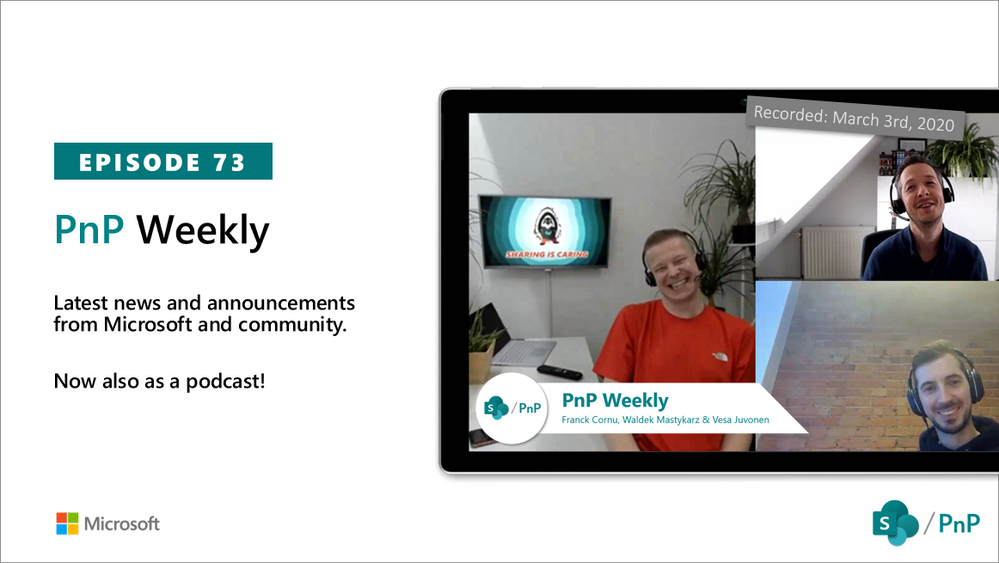
In this episode, Vesa and Waldek are joined by Franck Cornu – Office 365 developer, architect and owner of aequos out of Montreal, Canada. Franck’s strength is bringing and bridging 3 perspectives – Developer, Architect and Functional Consultant, in every customer conversation. His collaborative approach is – define the backlog together, translate to functional requirements, consider functionality available from community and then define requirements for code, test and final delivery. Lately, Franck has been very actively contributing to the PnP Modern SharePoint Search solution web part.


This episode was recorded on Tuesday, March 3, 2020


Got feedback, ideas, other input – please do let us know!

Microsoft 365 & SharePoint PnP Weekly – Episode 72

Microsoft 365 & SharePoint PnP Weekly – Episode 72

episode-72.png


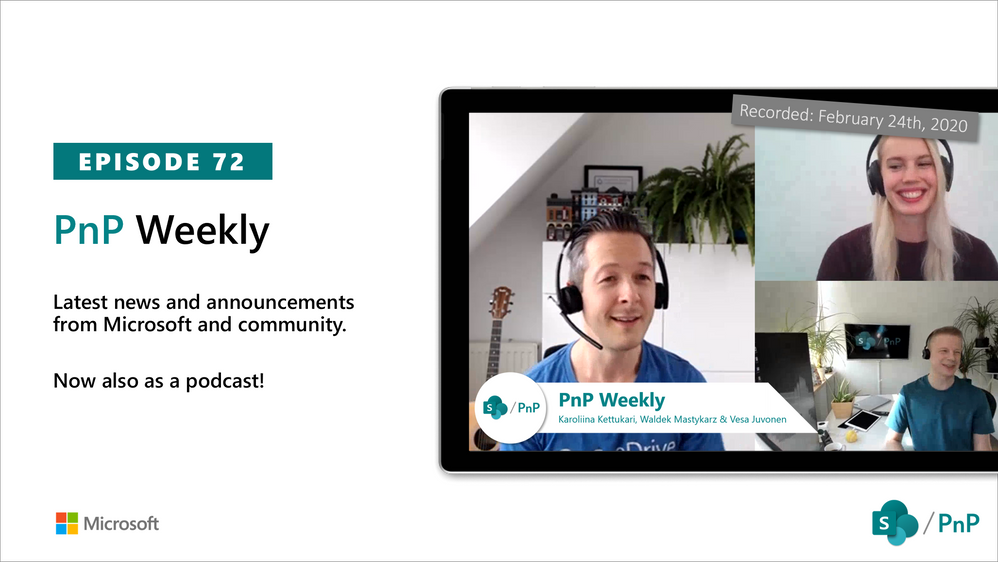
In this episode, Vesa and Waldek are joined by Karoliina Kettukari – MVP and Microsoft Teams and Office 365 user adoption and change management consultant with Sulava in Helsinki, Finland. Their conversation focuses on the human side of technology deployments, not addressed by the mere roll-out/announcement of a new technology. It is clear, change is constant and change impacts people throughout the entire organization – directly and more often indirectly.


This episode was recorded on Monday, February 24, 2020


SharePoint 2013/2016/2019:  How to replace expired WorkFlow Manager Certificates

SharePoint 2013/2016/2019: How to replace expired WorkFlow Manager Certificates

  1. Below are the steps for a 1 Node WFM farm using WFM/SB certificate generation key – resetting expired certificate process:


    First, some quick notes:

  • NOTE:  Ensure you have credentials for WFM Run-As service account and WFM passphrase for generated certificate.
  • NOTE:  If you have a 3 node WFM farm, then you will need to have WFM2 and WFM3 leave the WFM farm once you have changed the system date and time for all 3 nodes and then run Workflow Manager Configuration Wizard to leave farm.
  • NOTE: If the WFM passphrase is not known, step 6 will allow you to change WFM passphrase as long as you are part of the WFM farm
  • NOTE:  If you are running CA-Cert, you’ll follow the same process to change system date and time, and then follow below article to change to new certificate thumbprints – note new certificate requires to be created prior to expiration date:  https://blogs.msdn.microsoft.com/whereismysolution/2017/02/08/changing-my-workflow-manager-farm-certificates/
  1.  

    1. In order to reset generation key for WFM and SB the following steps needs to be done on the WFM node(s): System date and clock of WFM node must be set back before certificate expiration date (step needs to be done if multiple WFM nodes in farm)
      • Stop Windows Time Service
        clipboard_image_30.png
      • Change System date and clock to Day before certificate expired (in this example, the cert expired on November 21st, 2024)
        clipboard_image_31.png
    1. Steps to follow once System date and time has been set prior to expiration date: 
      • Output workflow manager PowerShell commands to clipboard and paste to notepad:
        TIP: Use “|clip” parameter to output results to clipboard and then paste to notepad
        • Get-WFFarm | clip
          clipboard_image_32.png
        • Get-SBFarm | clip
          clipboard_image_33.png
        • Get-SBNamespace |clip
          • NOTE: The “Get-SBNamespace” command will list ManageUser accounts – one of those accounts should be the logon credentials used. Account should have the required SQL permissions to reset expired certificates.
            clipboard_image_34.png
      • Run below commands (after reverting the date and time, all services should display as “Running” before proceeding to next steps:
        • Get-WFFarmStatus
          clipboard_image_35.png
        • Get-SBFarmStatus – There are scenarios where Service Bus Message Broker service will get stuck at “Starting”, regardless continue to next step
          clipboard_image_36.png
      • From Administrative SharePoint Management Shell, run below command to get current WorkflowHostURI used to register WFM to SharePoint:
        • $wfProxy = Get-SPWorkflowServiceApplicationProxy
          $wfProxy.GetWorkflowServiceAddress((Get-SPSite -Limit 1 -WarningAction SilentlyContinue))
          clipboard_image_37.png
      • Run below WFM PowerShell command to change passphrase and thumbprints:
        • Run these commands to set the Certificate keys:
          • $CertKey=convertto-securestring ‘PASSPHRASE’ -asplaintext -force;
            Set-WFCertificateAutoGenerationKey –Key $CertKey
            Set-SBCertificateAutogenerationKey –Key $CertKey
            clipboard_image_38.png
            clipboard_image_39.png
        • Then run the below commands:
          • Stop-SBFarm
            clipboard_image_40.png
          • Update-SBHost
            clipboard_image_41.png
      • Run Workflow Manager Configuration Wizard – we’ll leave WFM farm first and then rejoin WFM farm.  This step is necessary, as when we rejoin the WFM farm later, it will create the new WFOutboundCertificate for us.
        • Steps to leave WFM Farm
          • Open the Workflow Manager Configuration Wizard
          • Choose “Leave Workflow Manager Farm”
            clipboard_image_42.png
          • When the Summary page finishes loading, first be sure to copy the details prior to clicking on the Check Mark in the lower Right corner to start the removal process.  These details will be needed later when we go to rejoin the WFM farm


            clipboard_image_43.png

          • When complete, you can close out of the Wizard by clicking on the Check Mark again.
        • Steps to rejoin WFM Farm
          • Open the Workflow Manager Configuration Wizard
          • Choose “Join an Existing Workflow Manager Farm”
            clipboard_image_44.png
          • Fill out the details on the page, then click the Next arrow
            clipboard_image_45.png
          • Fill out the details on the page, then click the Next arrow
            clipboard_image_46.png
          • Fill out the details on the “Join Service Bus Farm” page, then click the Next arrow
            clipboard_image_47.png
          • Review the Summary page, then click the Check Box to start the configuration
            clipboard_image_48.png
          • When complete, click the Check box
            clipboard_image_49.png
      • Enable Windows Time Service – this will automatically change server back to current date and time
        clipboard_image_50.png
      • Follow the steps from this article:  SharePoint 2016: Step by Step guide to add Workflow Manager Certificate into SharePoint trust (Also install to Trusted Root store)
      • Export WFM Client certificate using below command from Workflow Manager Powershell: Get-WFAutoGeneratedCA
        • Above command creates “AutoGeneratedCA.cer” file in path where command was executed – default C:Program FilesWorkFlow Manager1.0
          clipboard_image_51.png
          clipboard_image_52.png
        • Copy “AutoGeneratedCA.cer” file to all SP nodes and Web Frontends – install certificate to Trusted Root Certification Authorities certificate store
          • Copy the file to the SharePoint server(s)
          • Right-click, and select Install Certificate
            clipboard_image_53.png
          • Select “Local Machine” and click Next
            clipboard_image_54.png
          • Select “Place all certificates in the following store”, and then choose “Trusted Root Certification Authorities”, and then choose OK, and NEXT, then FINISH
            clipboard_image_55.png
          • Choose OK to complete
            clipboard_image_56.png
          • Repeat on each SP server
          • Repeat same process on each SP server for the certificate that was trusted into SharePoint Manage Trusts earlier during Step 7.
          • Reset IIS on all SP WFEs
      • Register WFM to SharePoint
        • Sample command:
        • From SharePoint Central Admin, run daily timer “Refresh Trusted Security Token Services Metadata feed [Farm job – Daily]”
          • $tj = Get-SPTimerJob RefreshMetadataFeed
            $tj.RunNow()
            clipboard_image_58.png
    1. Test one of your 2013 workflows now, and it should complete successfully
      clipboard_image_59.png